STEM Learning
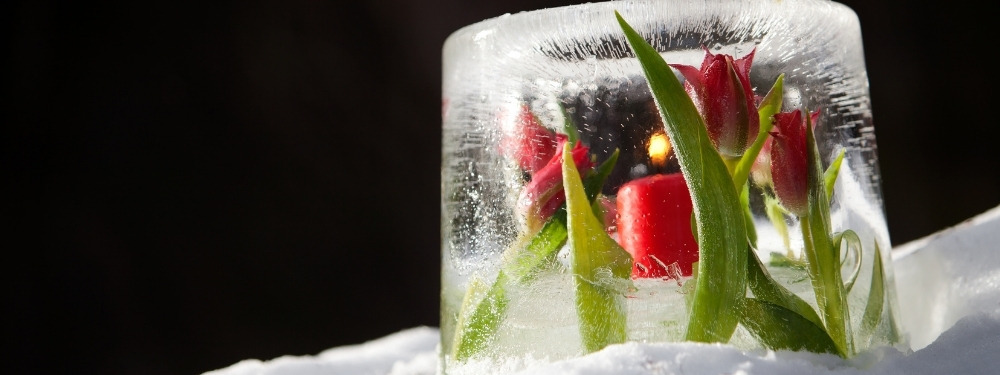
STEM Activity for Kids: How To Create Ice Lanterns
If you’re looking for fun STEM activities this winter season, making an ice lantern is a great option covering all four categories of STEM learning.
It’s winter, and we’re excited to find cool STEM activities using water, snow, and ice! Making an ice lantern is a great option if you’re looking for fun STEM activities to do either inside or outside.
Learn how making an ice lantern helps grow STEM skills, and then discover ways to do this activity at your home!

How to Improve STEM Skills by Making an Ice Lantern
Science: Study how water volume changes with temperature, speed of melting, and how different candles impact that.
Technology: Observe if different size cups change anything.
Engineering: Your child will design how large or small your ice lantern is based on the cups or pails used. See how the size and different materials affect the way water freezes.
Math: Measure how much water is needed for different sizes.
Plan Your Ice Lantern
Before you begin to engineer your ice lantern, you’ll want to plan how you want it to look.
You’ll want to consider these questions:
How big do you want your lantern to be? Do you want to use a regular-sized plastic cup for the base, or do you want to use a large water pail for a jumbo-sized lantern?
What materials do you want to decorate your lantern with?
How much water do you need to fill your cup?
Do you want to light your lantern with a battery-powered candle or a real one?
How long will it take your lantern to freeze based on its size?
How long will it take your lantern to melt? Is this different depending on the type of candle you use (battery-operated, or real), or where you place your lantern (inside or outside)?
Once you’ve answered these questions, you can begin planning your ice lantern! You can think about your ice lantern as a science experiment. Make predictions about how fast it will melt, and record your predictions in a tracker. If you plan on making multiple ice lanterns, try out different ideas you have, and see which lanterns melt faster based on their differences.

Make Your Ice Lanterns
Your ice lantern(s) are planned! Now you can gather the supplies needed to make them! You’ll need most, if not all, of these things:
Red solo cups, one per lantern (this can be switched out for a large water pail, or any other plastic cup you like the size of)
Smaller plastic cups, one per lantern (this should easily fit inside of the red solo cup, or alternative cup)
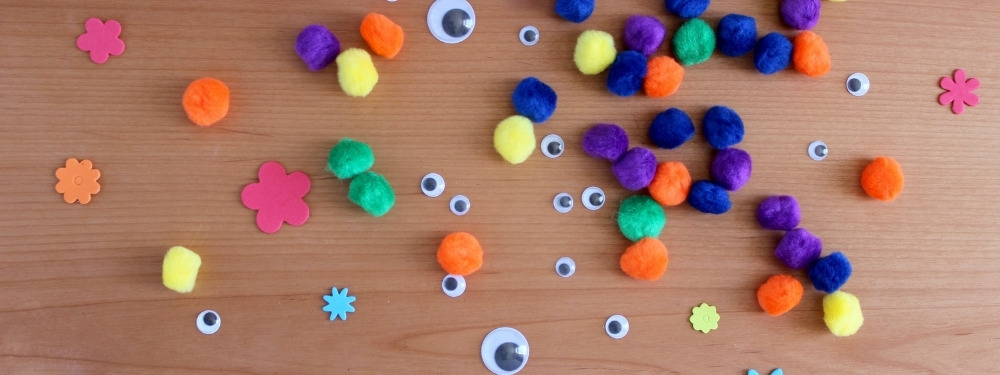
Decorative items (holiday decorations, plants, glitter, pom-poms, tinsel, pipe cleaners, etc.)
Food coloring (optional)
Water (could be switched out for snow)
Small candles (battery-operated or real)
Once you’ve gathered your materials, you’re ready to make your lanterns!
To make your lantern, start with your larger cup. Decorate the inside of your cup with the pipe cleaners, glitter, pom poms, and other decorative items you have. Once you’ve placed all of the decorations in the larger cup, place the smaller cup inside. You’ll want the openings of both cups to be level (using tape works well). Then, fill the larger cup with water.
You may need to put a few small stones in the small cup to prevent it from popping up. Make sure there isn’t any water in the smaller cup, only fill the larger cup. Finally, put a few drops of food coloring in the water, and then place your cups in the freezer (or outside, if it’s below zero).
Once your lantern is frozen, you can remove the cups and tape. If the cups don’t easily come off, you may need to take a pair of scissors to cut them off. Once your cups are removed from your lantern, place a battery-operated candle in the middle, and display your lantern either inside or outside your home.
Here are some questions for this stage:
Did you notice that your smaller cup had popped up after freezing your lantern? This is because ice has more volume than water.
If you’re making multiple lanterns, were there any challenges with different-sized cups?
How long do you think it will take for your ice lantern to melt?

Watch Your Ice Lantern
Now that you’ve made your ice lantern, watch it glow (whether it’s inside or outside) and record how long it takes to melt.
If you’ve made multiple lanterns, place them in different areas, or use different candles (real, and battery operated), to see how that affects the melting rate of your lantern. Record all of your observations in a tracker.
Here are some questions you can ask at this stage:
If you’ve made multiple lanterns, are some lanterns melting faster than others? Why?
Does a large lantern melt faster or slower than a smaller one?
How does the environment affect your lantern?
How does the type of candle used effect your lantern?
Review the Results
Congratulations! You’ve made an ice lantern!
Now that you’ve made your ice lantern, review your predictions from the planning stage.
Were your predictions correct? How did your expectations change as you watched your lantern?
We hope you enjoy your lanterns, and now that you know which lanterns melted the quickest, you can successfully plan to make more!
Discover More STEM Activities
For more STEM activities, check out our Winter Bucket List, Spring Bucket List and Summer Bucket List.
For a way to improve STEM skills in any season, check out Blocks Rock!